【NZに来る前に必ず見て】ニュージーランドの医療費は無料だから無保険でワーホリに来ても大丈夫だよね?←そんなわけない
s.tonouchi
とのっちょのNZ生活
みなさんこんにちは。
先日高市首相が突然解散総選挙を発表しました。今回の選挙はだいぶギリギリな日程で行われるために日本国内ではかなり批判的な記事を見かけますが、一方で海外にいる人にとって今回の選挙はほとんど参加不可能になっていることはご存知ですか?
今回の記事では在外選挙制度について軽く説明し、今回の選挙が在外邦人にとってそもそも参加の可否から疑わしいという話をしようと思います。
在外選挙というのは、海外に住んでいる日本人が日本の選挙に対して投票を行う、という制度です。
この制度は1998年に交付された「公職選挙法の一部を改正する法律」によって西暦2000年から海外在住の日本人も選挙に参加できるようになった、というものです。
また、令和4年からは最高裁判所裁判官国民審査法の改正に伴って、こちらも海外在住の日本人が投票できるようになりました。
海外在住の日本人が日本の選挙で投票することを「在外選挙」といいます。
在外選挙で投票をするためには、在外選挙人登録名簿への登録申請、ということをしなくてはなりません。
これはかつては在外公館でのみ受付可能だったのですが、2018年6月1日以降海外に転出する時に申請することができるようになり、この場合は即日の発行、在外公館での申請から発行は約二ヶ月かかります。
つまり「来週投票だから今在外選挙人登録しよう」と思ってももはや手遅れとなってしまいます。
申請方法はNZの場合は在外選挙人名簿への登録申請に説明があります。
ちなみに国によって違いがある可能性もありますのでNZ以外の国の人は各自現地の在外公館のウェブサイトを確認してください。
在外選挙には以下の2通りの方法があります。
国によっては郵送による投票もあるようです。
いずれの方法を取るにしても、パスポートと在外選挙人証が必要になります。
そして今回問題になっているのは2の方法です。
それでは今回の選挙で海外にいる日本人にとって一体何が問題なのか?というのを軽く書いていきます。
まず選挙の投票について日本国内と海外では日程が異なります。海外の投票は投票券を国内に輸送するために期日が日本国内夜も早くなっています。そのため、以下のような日程になります。
つまり、公示を受けてから5日間以内に投票を終わらせなくてはなりません。
在外公館に出向ける人々は頑張れば投票にいけますが、やはりいきなり今週末までに投票を済ませてね!と言われても都合がつかない人もいるでしょうし、遠隔地にいる人や在外公館に行くことができない人の場合は出頭免除申請ということをするのですが、これは以下の手順になります。
つまり、ビデオ通話ができない人や連絡の都合がつかない場合、などの場合は遠隔地での投票もすることができませんし、原本を郵送した場合は期限内に郵便が届かない可能性もあります。
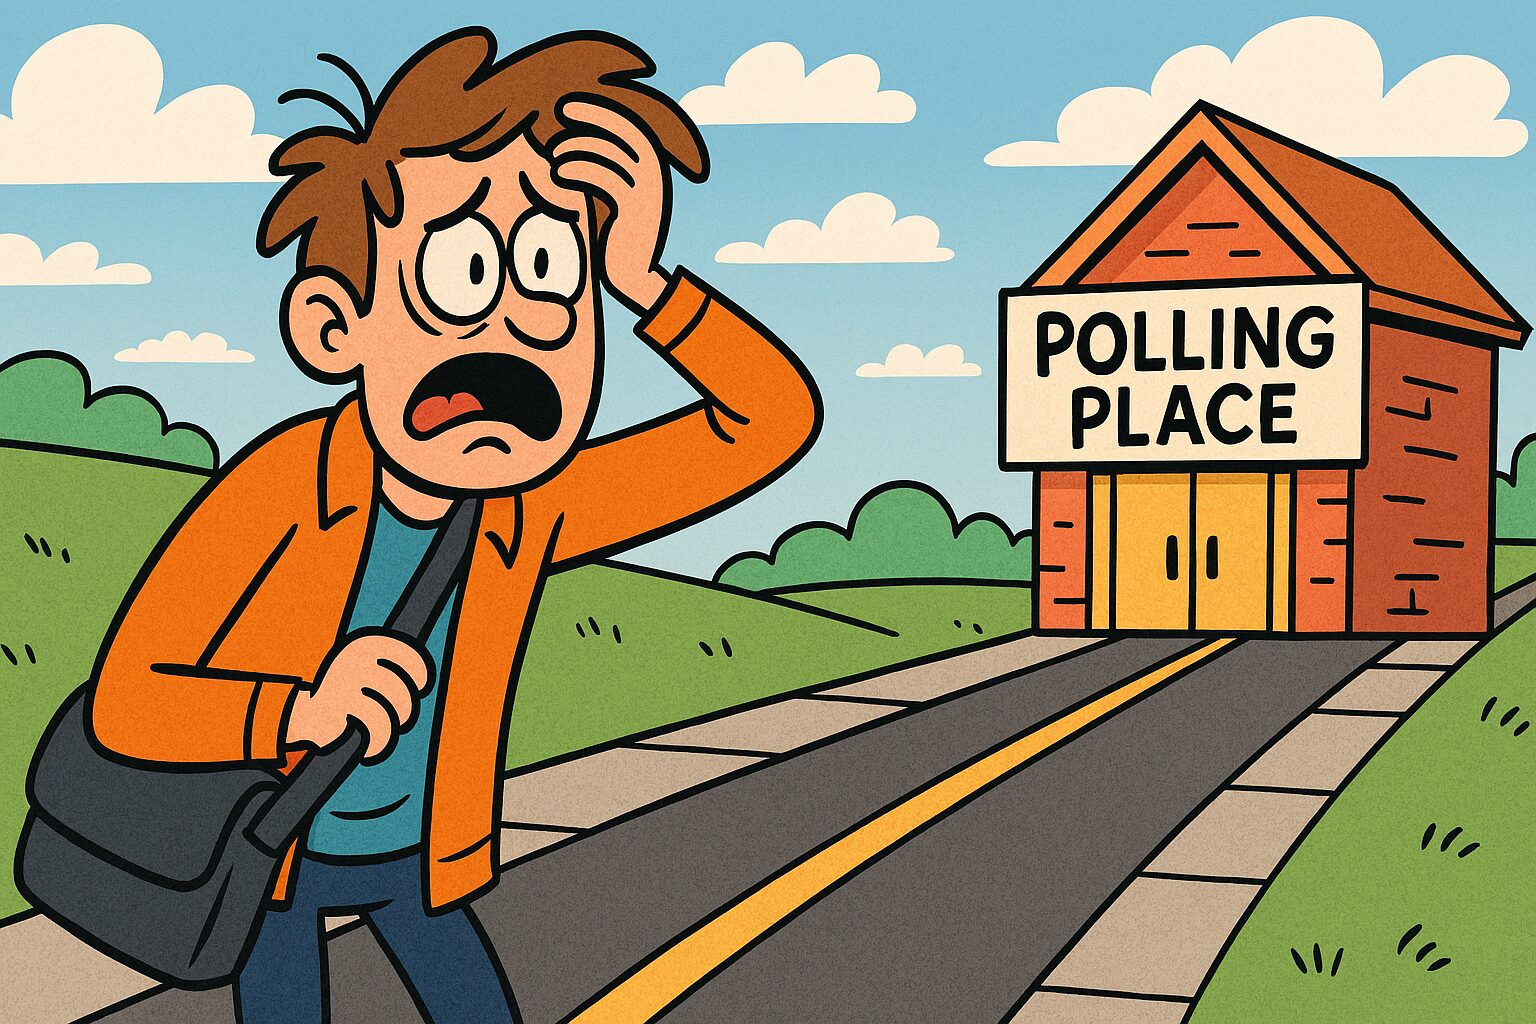
結論を言うと海外在住の日本人にとって今回の選挙はありえないレベルのスピード選挙であり、ほとんどの人が投票できないんじゃないか、と思いました。
しかも今回特にタイミングが悪いのがデスティニーチャーチによるデモが1月31日にオークランドのCBDで行われ、却下されたデモによるハーバーブリッジ横断を強行しようとしたせいで警察が厳戒態勢になって結構怖い雰囲気になったという点です。
我が家は結局今回の選挙は諦めることにしました。平日は仕事、土曜日はデモがあって物々しいから避けた結局行ける日は日曜しかないけどもうすでに予定が詰まっていたのでもう無理だ、となりました。
解散総選挙をするのは良いんですけど、海外にいる日本人のことももうちょっと考えてください!